
You’ve just dropped the needle on a record you scored at a charity shop for €2. It sounds great — but there’s a crackle underneath. A pop every few seconds. That familiar grittiness that tells you this thing hasn’t been cleaned in years.
Good news: that’s almost always fixable. Learning how to clean vinyl records at home is one of the most useful skills you can have as a collector, and you don’t need expensive equipment to do it properly.
Here’s everything you need to know.
Read more: How to Clean Vinyl Records at Home (Without Ruining Them)Why Cleaning Your Vinyl Records Actually Matters
Dust and dirt don’t just cause noise — they cause damage. Every time your stylus tracks through a dirty groove, it’s pushing grit along with it. Over time, that wears down both the record and your needle.
A clean record:
- Sounds noticeably better (less crackle, more detail)
- Lasts longer
- Is kinder to your stylus
The good news is that most of the grime you’ll find on used records is surface-level and completely cleanable. Even records that look hopeless can often be restored to great playback condition.
What You’ll Need
You don’t need a professional record cleaning machine to clean vinyl records at home. Here’s what actually works:
Budget setup (€10–15 total):
- A carbon fibre anti-static brush (~€8–12)
- A microfibre cloth
- Distilled water
One step up (€20–30 total):
- A dedicated vinyl record cleaning solution (like KNOSTI or Vinyl Buddy)
- A carbon fibre brush
- A velvet record cleaning brush
What to avoid:
- Tap water (contains minerals that leave residue)
- Paper towels or regular cloths (they scratch)
- Isopropyl alcohol on its own (too harsh without dilution — it can dry out the vinyl)
- Your breath — yes, some people try this. Don’t.

When cleaning a record, hold it gently by its sides or place it on a soft, dust-free surface. Avoid placing your hands directly over the record, as dust and fingerprints can assimilate on the record, potentially damaging it or requiring further cleaning.
How to Clean Vinyl records at Home: Step by Step
Step 1: Dry brush before every play
Before you even think about wet cleaning, always dry brush your record first. This removes loose dust and static that accumulates just from sitting on a shelf.
How to do it:
- Hold the record by the edges and label — never touch the playing surface with your fingers (skin oils are bad for vinyl)
- Place the carbon fibre brush gently across the grooves
- Rotate the record slowly (one full rotation is enough)
- Lift the brush off in the direction of the grooves — don’t drag it backwards
Do this every single time before you play. It takes 10 seconds and makes a real difference.
Step 2: Wet clean for deeper grime
For records that are visibly dirty, dusty, or crackly despite dry brushing, a wet clean is the best way to clean vinyl records properly.
How to do it:
- Apply a small amount of cleaning solution (or distilled water) to your velvet brush or microfibre cloth — never directly onto the record
- Work in gentle circular motions following the direction of the grooves (always groove-direction, never across)
- Use light pressure — you’re lifting dirt out of the grooves, not scrubbing
- Wipe away residue with a clean, dry microfibre cloth
- Let the record air dry completely before playing — at least 10–15 minutes
Tip: If you’re using distilled water, a tiny drop of washing-up liquid (like Fairy) diluted heavily in water works fine as a budget cleaning solution. Use sparingly and always rinse.
Step 3: Store it clean
Once your record is clean, put it straight into a clean inner sleeve. If the original paper inner sleeve is tatty or dusty, replace it with a polythene/plastic inner sleeve (~€0.20 each). This keeps the record clean between plays and protects it from static.
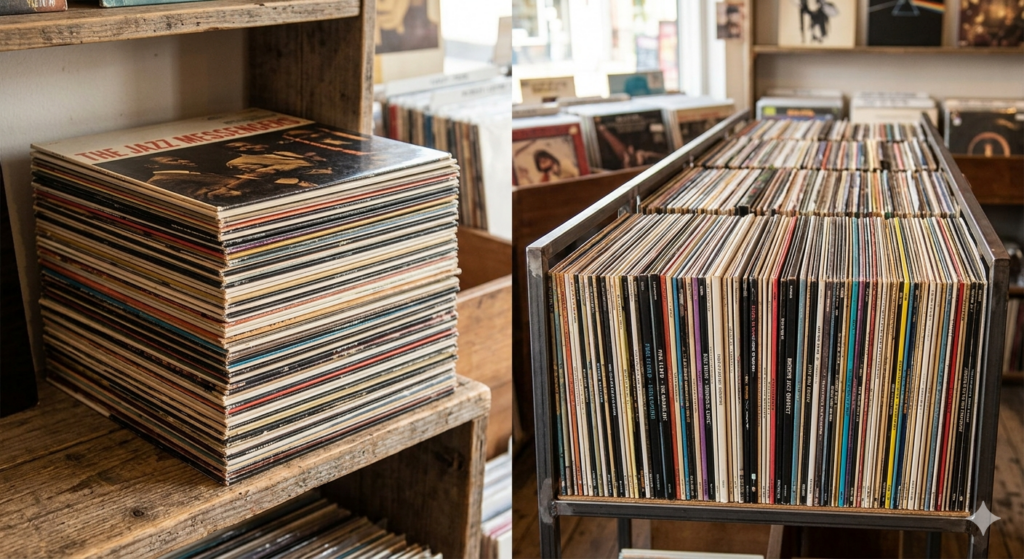
Storing tip: store your vinyl records assorted side by side, not stacked on top of one another!
Stacking your records on top of one another can warp the vinyls, bending them as the weight of the records is distributed unevenly.
How Often Should You Clean Vinyl Records?
That’s the big question, isn’t it? Cleaning your vinyl regularly is very important if you want to see consistent play out of them. Once a vinyl is damaged, there’s (unfortunately) no going back.
To ensure the quality of your record stays consistent, maintain the following protocol:
Dry brush (Step 1): Every single play, no exceptions
Wet clean (Step 2): When you first buy a used record, or when you notice a drop in sound quality
Deep clean (Step 3): A couple of times a year for records you play often
What About a Record Cleaning Machine?
You may have seen a few these float about. They’re only really worth it once you get serious about collecting, to be honest.
Most of them would be around €80 or so. It’s not a machine in the expensive sense, however. It’s a bath system where you manually rotate the record through a cleaning fluid and let it dry on a rack. An example would be this KNOSTI anti-static plate-washer.
For a beginner or student collector, it’s not essential. The manual method mentioned above will handle 95% of what you’ll encounter. But if you’re buying a lot of used records regurlarly, the KNOSTI pays for itself fast.
Quick Reference: The Cleaning Routine
| Situation | Method |
|---|---|
| Before every play | Carbon fibre dry brush |
| New (used) record | Wet clean first, then dry brush before playing |
| Crackling/noisy record | Wet clean |
| Long-term storage | Clean + replace inner sleeve |
Final Thoughts
Cleaning your vinyl records at home doesn’t have to be complicated or expensive. A carbon fibre brush and some distilled water will get you 80% of the way there. The habits matter more than the tools — dry brush every play, wet clean when needed, and store your records properly.
Do that consistently and your records will sound better, last longer, and your stylus will thank you too.
Want to go further? Check out our guide on How to Store Vinyl Records Properly (And Why It Matters)to make sure your collection stays in shape for years to come.
Leave a Reply